DIY Embroidery Tips: Personalize Your Clothes Like a Pro


Getting Started with DIY Embroidery
Embroidery is a wonderful way to add a personal touch to your clothing. Whether you’re looking to revamp an old favorite or create a unique gift, DIY embroidery is both a rewarding and relaxing hobby. To begin, you’ll need a few basic supplies: embroidery needles, thread, a hoop, and fabric. If you’re new to embroidery, consider starting with simple designs and working your way up to more complex patterns.
Before you start stitching, it’s important to choose the right fabric. Natural fibers such as cotton or linen work best because they hold the stitches well and are easy to work with. If you’re adding embroidery to an existing garment, make sure the fabric is sturdy enough to support the design without tearing.
Selecting Your Design
When it comes to choosing a design, the possibilities are endless. You can find inspiration from existing patterns or create your own unique design. For beginners, pre-made patterns or simple motifs like flowers or geometric shapes are a great starting point. As you gain confidence, you can experiment with more intricate patterns or even create custom designs.
Once you’ve selected your design, transfer it onto your fabric using a water-soluble pen or transfer paper. This step is crucial as it serves as your guide throughout the embroidery process. Be sure to position the design carefully to ensure it sits well on the garment when worn.
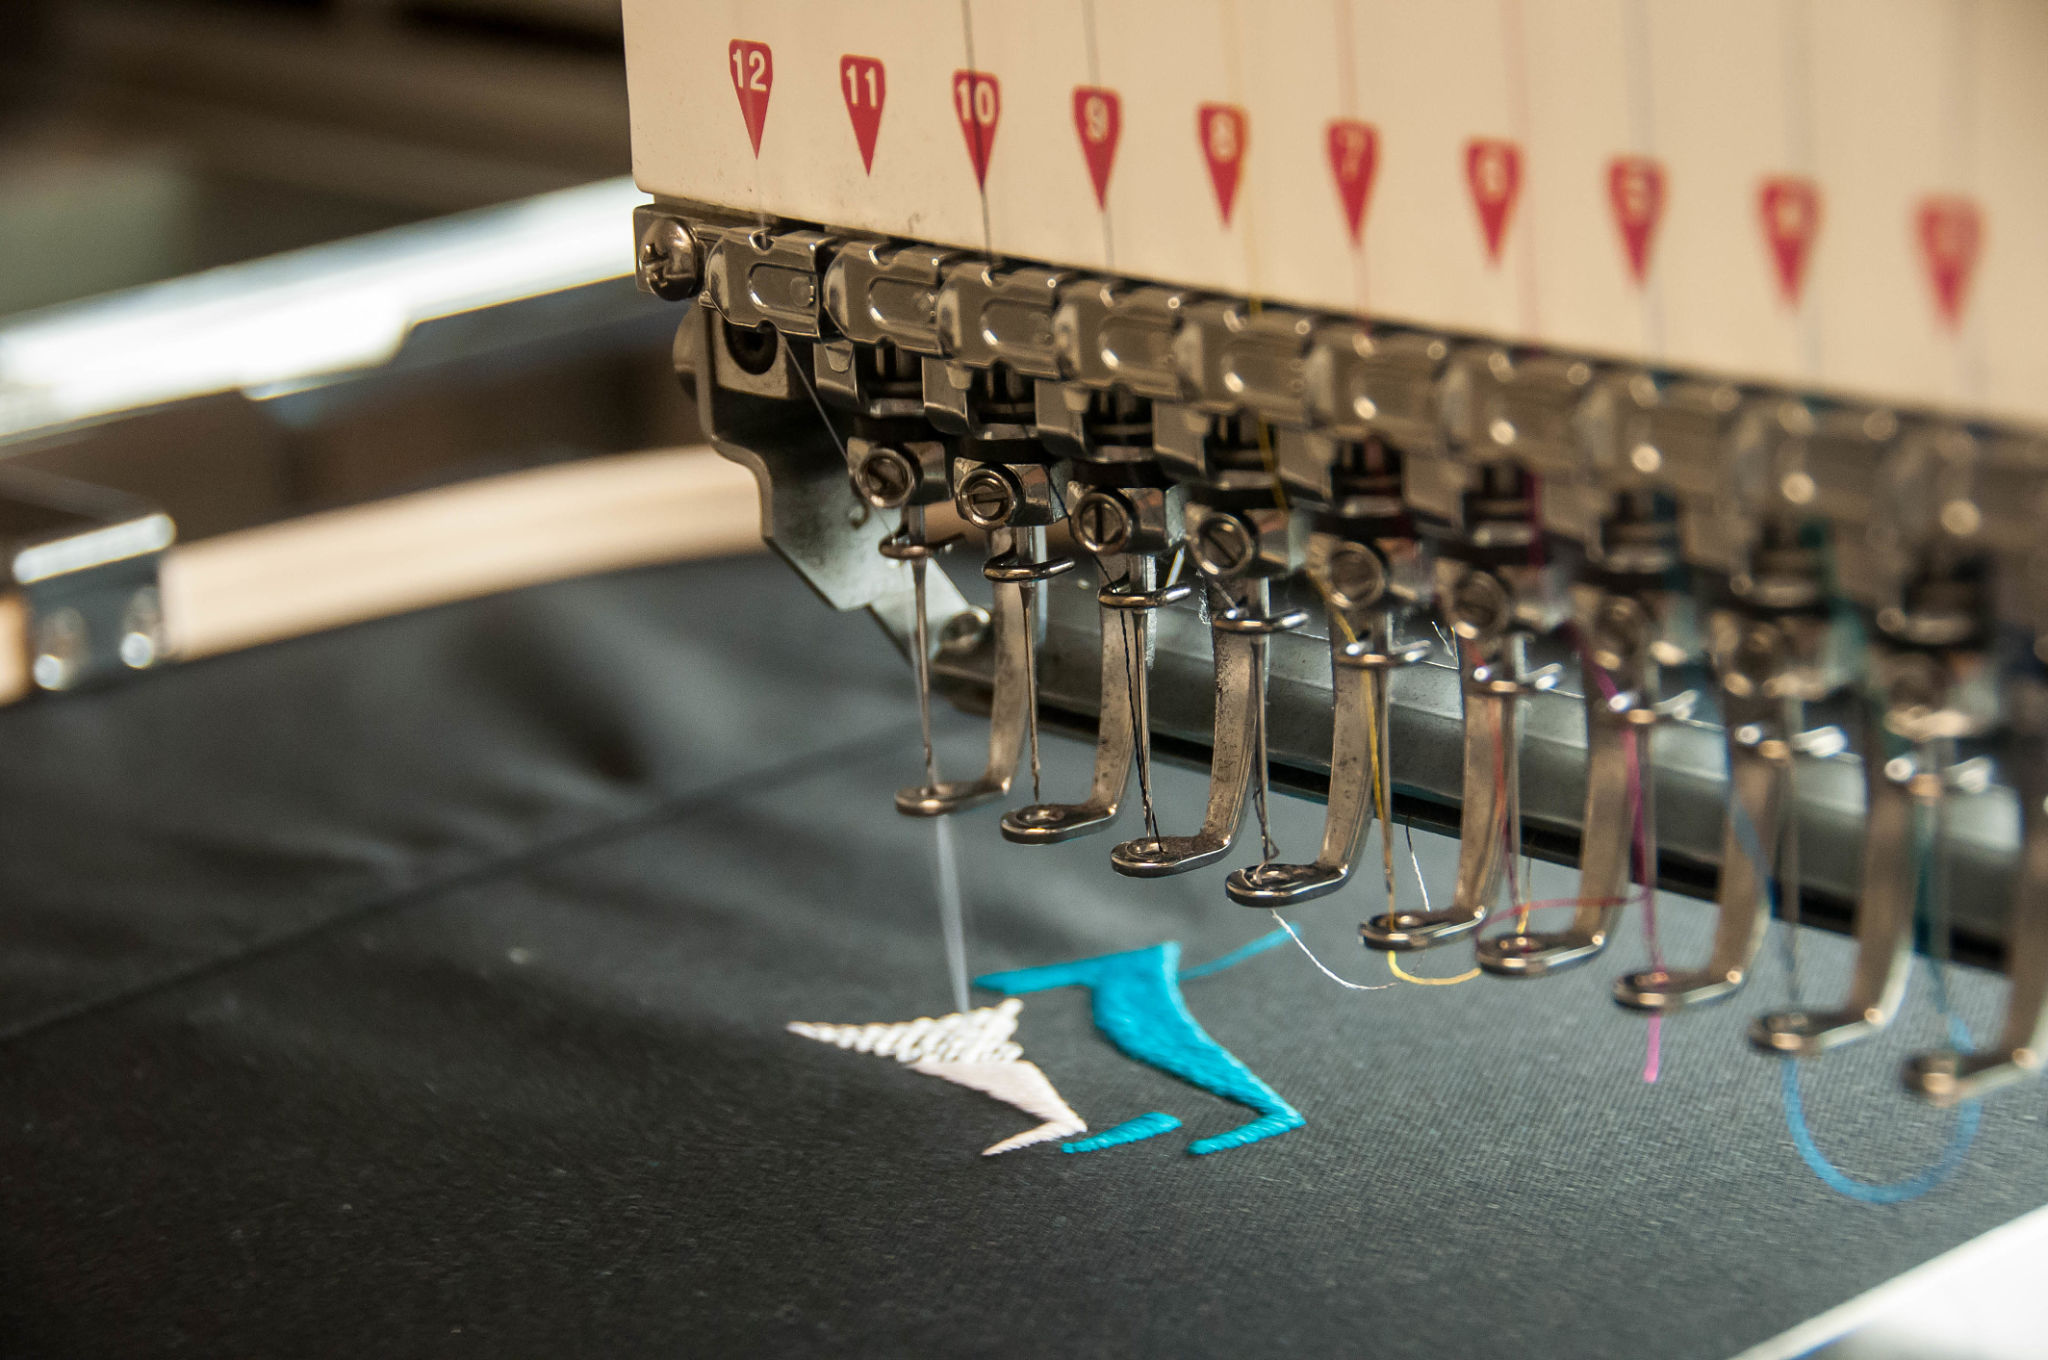
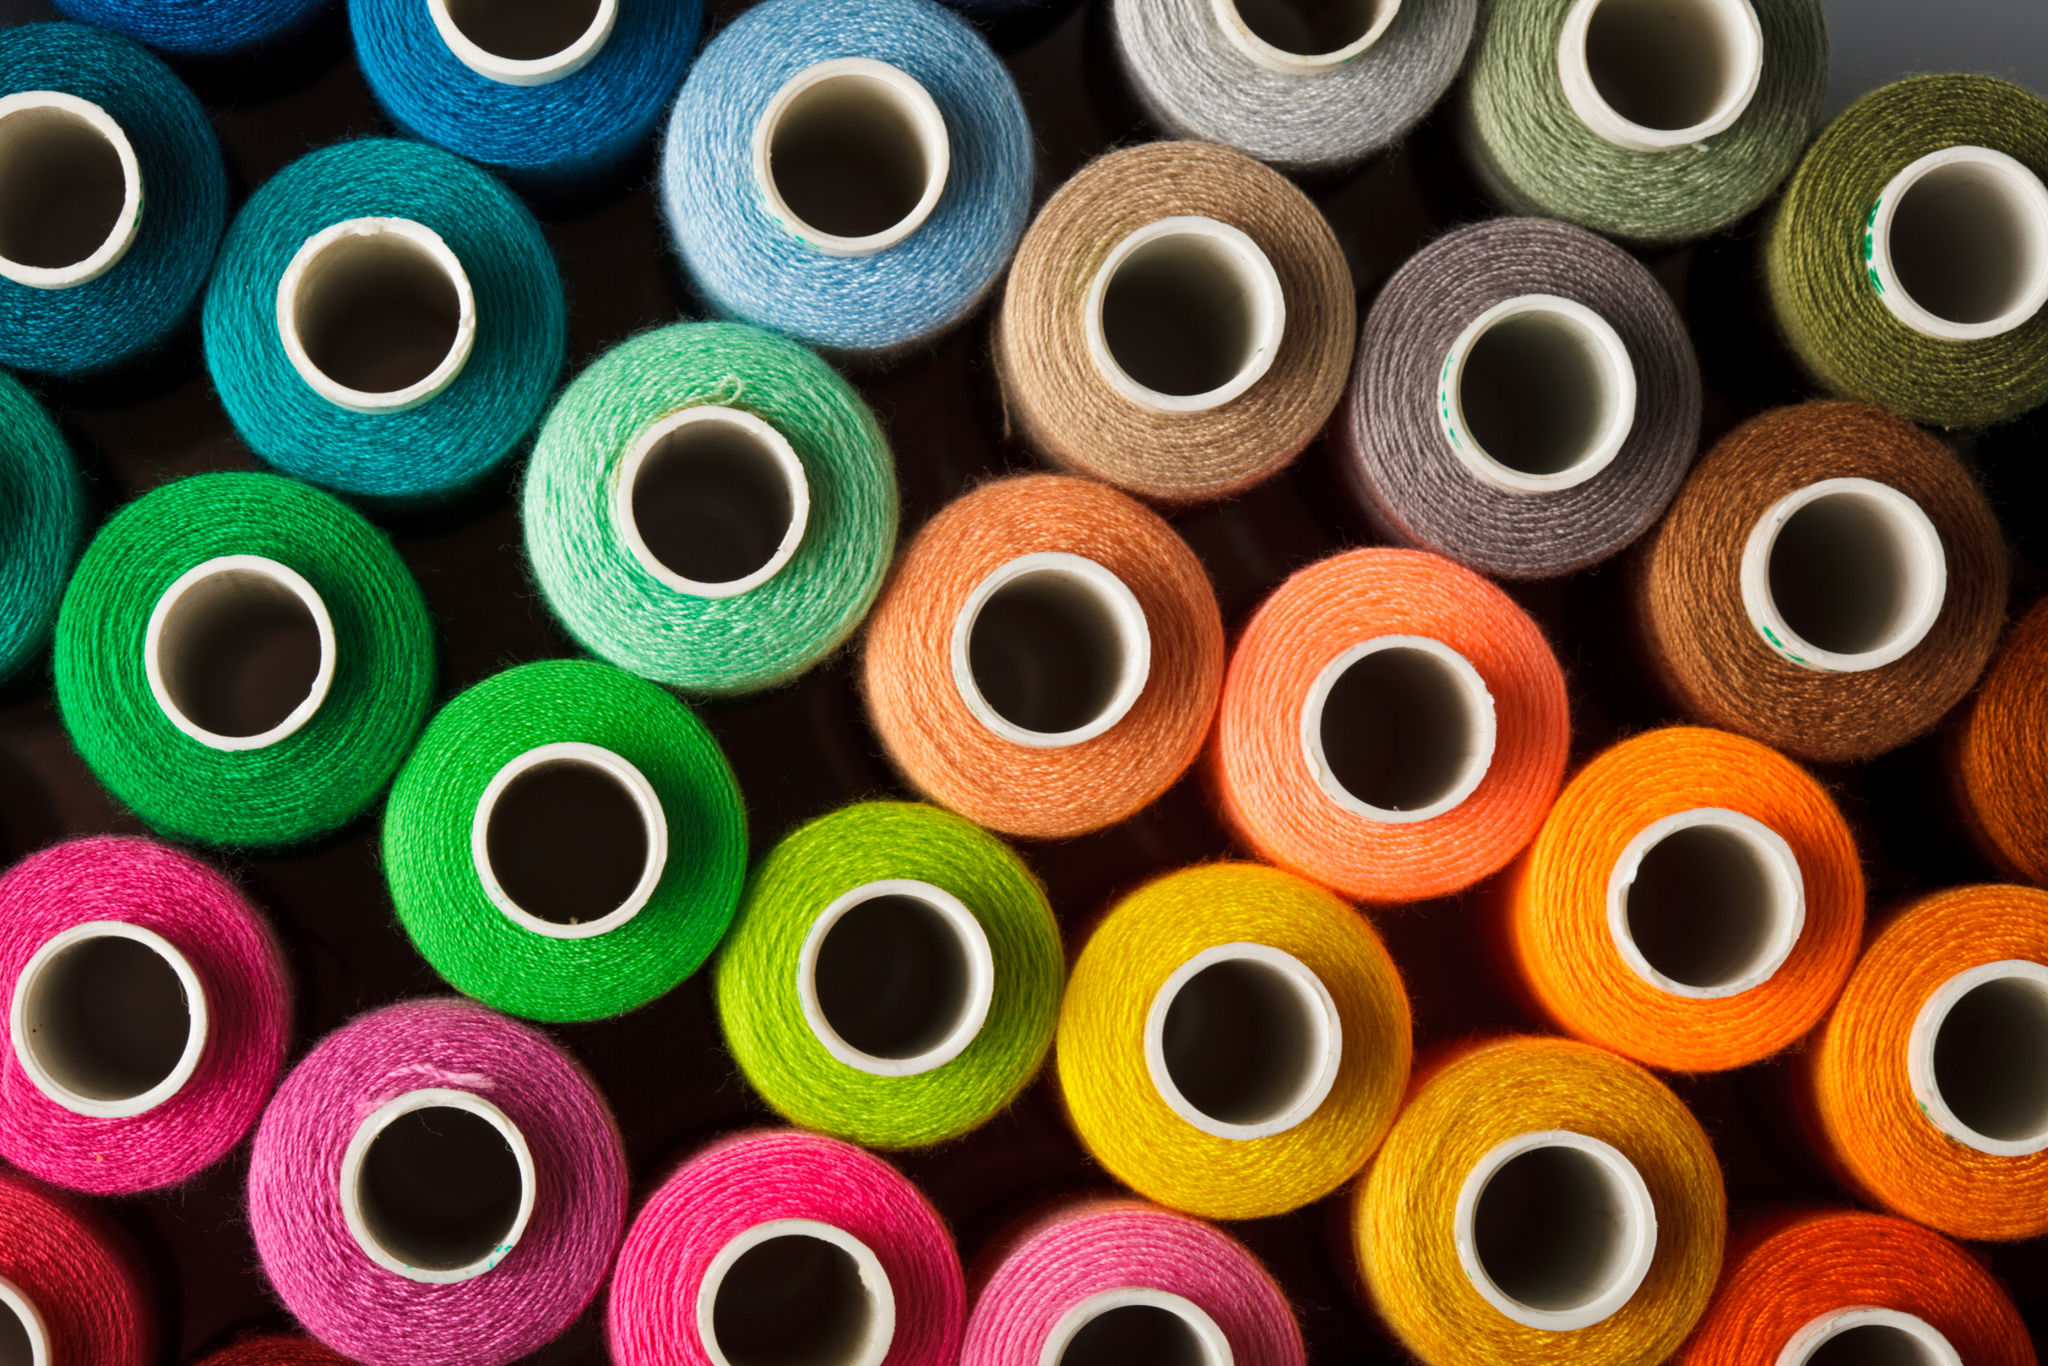
Choosing the Right Thread
The type of thread you use can significantly impact the final look of your embroidery. Embroidery floss is available in a vast array of colors and textures, allowing you to achieve different effects. For most projects, six-strand cotton floss is ideal, as it’s easy to separate and adjust the thickness of your stitches.
Consider the color scheme of your garment when selecting thread colors. Contrasting colors can make your design pop, while complementary shades create a more subtle effect. Don’t hesitate to experiment with metallic or variegated threads for added visual interest.
Mastering Basic Stitches
Understanding basic embroidery stitches is essential for creating beautiful designs. Some of the most common stitches include the backstitch, satin stitch, and French knot. Each stitch offers a different texture and look, allowing you to add depth and detail to your work.
The backstitch is perfect for outlining shapes and letters, while the satin stitch creates smooth, filled areas. French knots are great for adding small details like flower centers or textured accents. Practice these stitches on a scrap piece of fabric before working on your garment to ensure even and consistent results.
Finishing Touches
Once you’ve completed your embroidery, it’s time for the finishing touches. Carefully remove any remaining transfer lines with water or by gently washing the garment. Press the embroidered area with an iron set to a low heat setting to smooth out any wrinkles without damaging the stitches.
If your embroidery will be exposed to frequent wear and washing, consider reinforcing it with a lightweight fusible interfacing on the back. This will help maintain the integrity of your design over time.

Showcase Your Creations
Now that your masterpiece is complete, it’s time to show it off! Wear your personalized clothing with pride or gift it to someone special. Sharing photos of your work on social media can also connect you with other embroidery enthusiasts and provide endless inspiration for future projects.
Remember, embroidery is an art form that evolves with practice and creativity. The more you experiment with different techniques and designs, the more skilled you’ll become in personalizing garments like a pro.