DIY Customization: How to Embroider Your Own Clothes


Introduction to DIY Embroidery
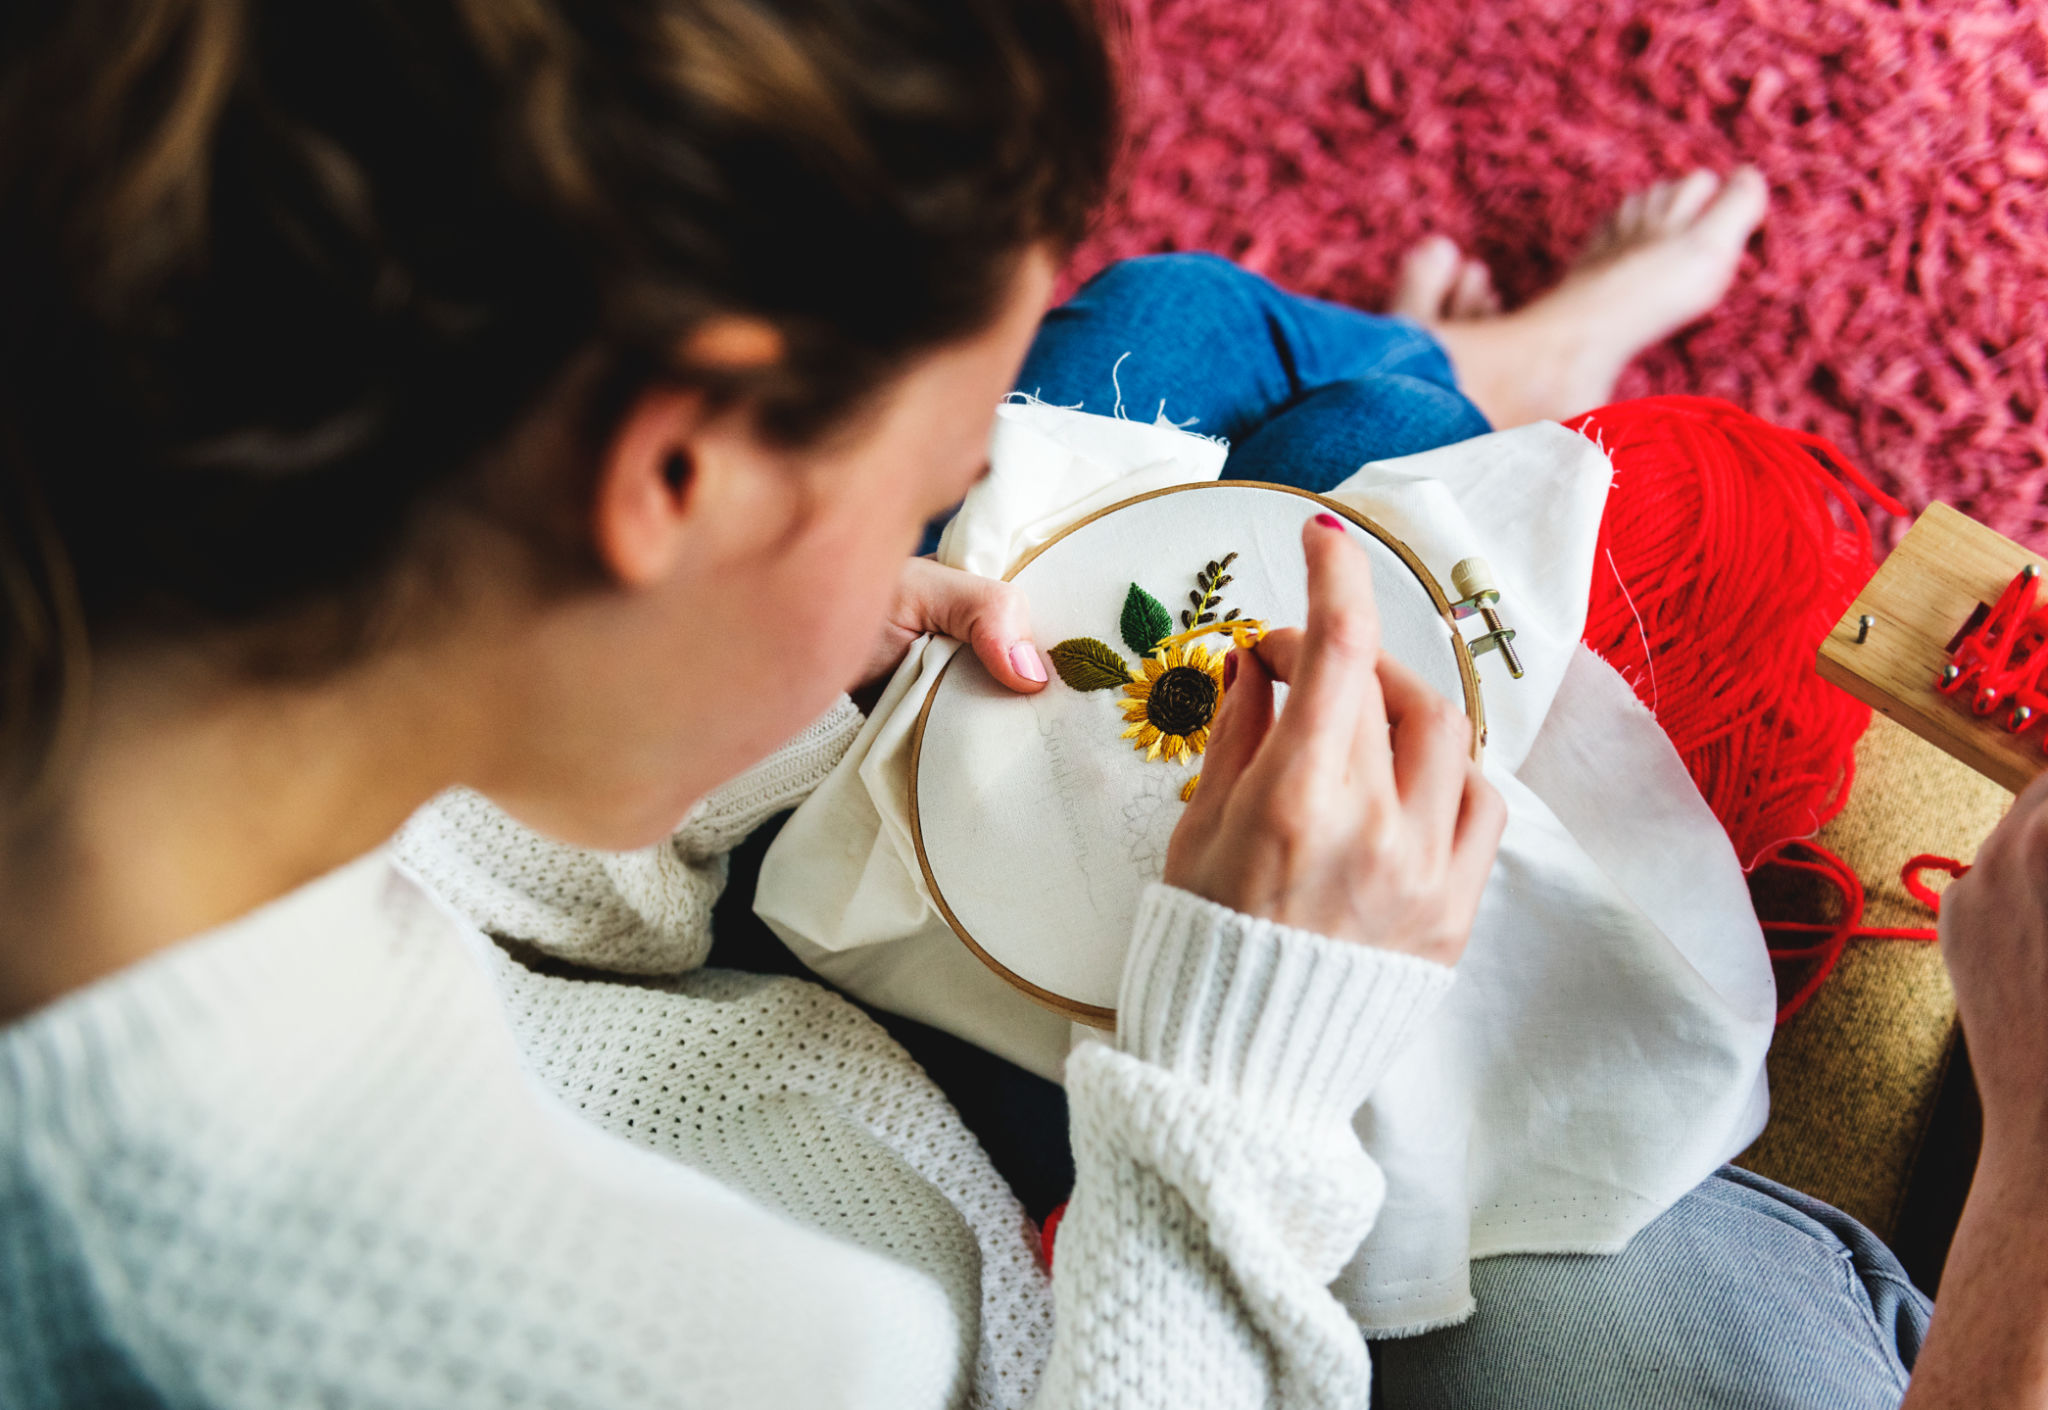
Embroidery is an ancient art that has experienced a resurgence in popularity, thanks to the growing trend of DIY fashion. Personalizing your clothing with embroidery allows you to express your individuality while also honing a creative skill. Whether you're a complete beginner or have some experience, this guide will help you get started on your journey to embroidering your own clothes.
Gathering Your Materials
Before you begin, it's essential to gather the necessary materials. Here's a list of basic supplies you'll need:
- Embroidery hoop: Keeps your fabric taut and makes stitching easier.
- Embroidery needles: Choose needles with larger eyes to accommodate embroidery floss.
- Embroidery floss: Available in a variety of colors, this is the thread you'll use to stitch your designs.
- Fabric: Choose a garment or piece of fabric that you want to customize.
- Scissors: Small, sharp scissors are ideal for snipping thread.
- Water-soluble pen: This will help you draw your design onto the fabric before stitching.
Choosing Your Design
Selecting the right design is key to a successful embroidery project. Start with something simple, like small floral patterns or geometric shapes, before progressing to more intricate designs. You can find inspiration from online resources, embroidery books, or by sketching your own ideas. Once you've chosen a design, use the water-soluble pen to lightly sketch it onto your fabric.
Mastering Basic Stitches
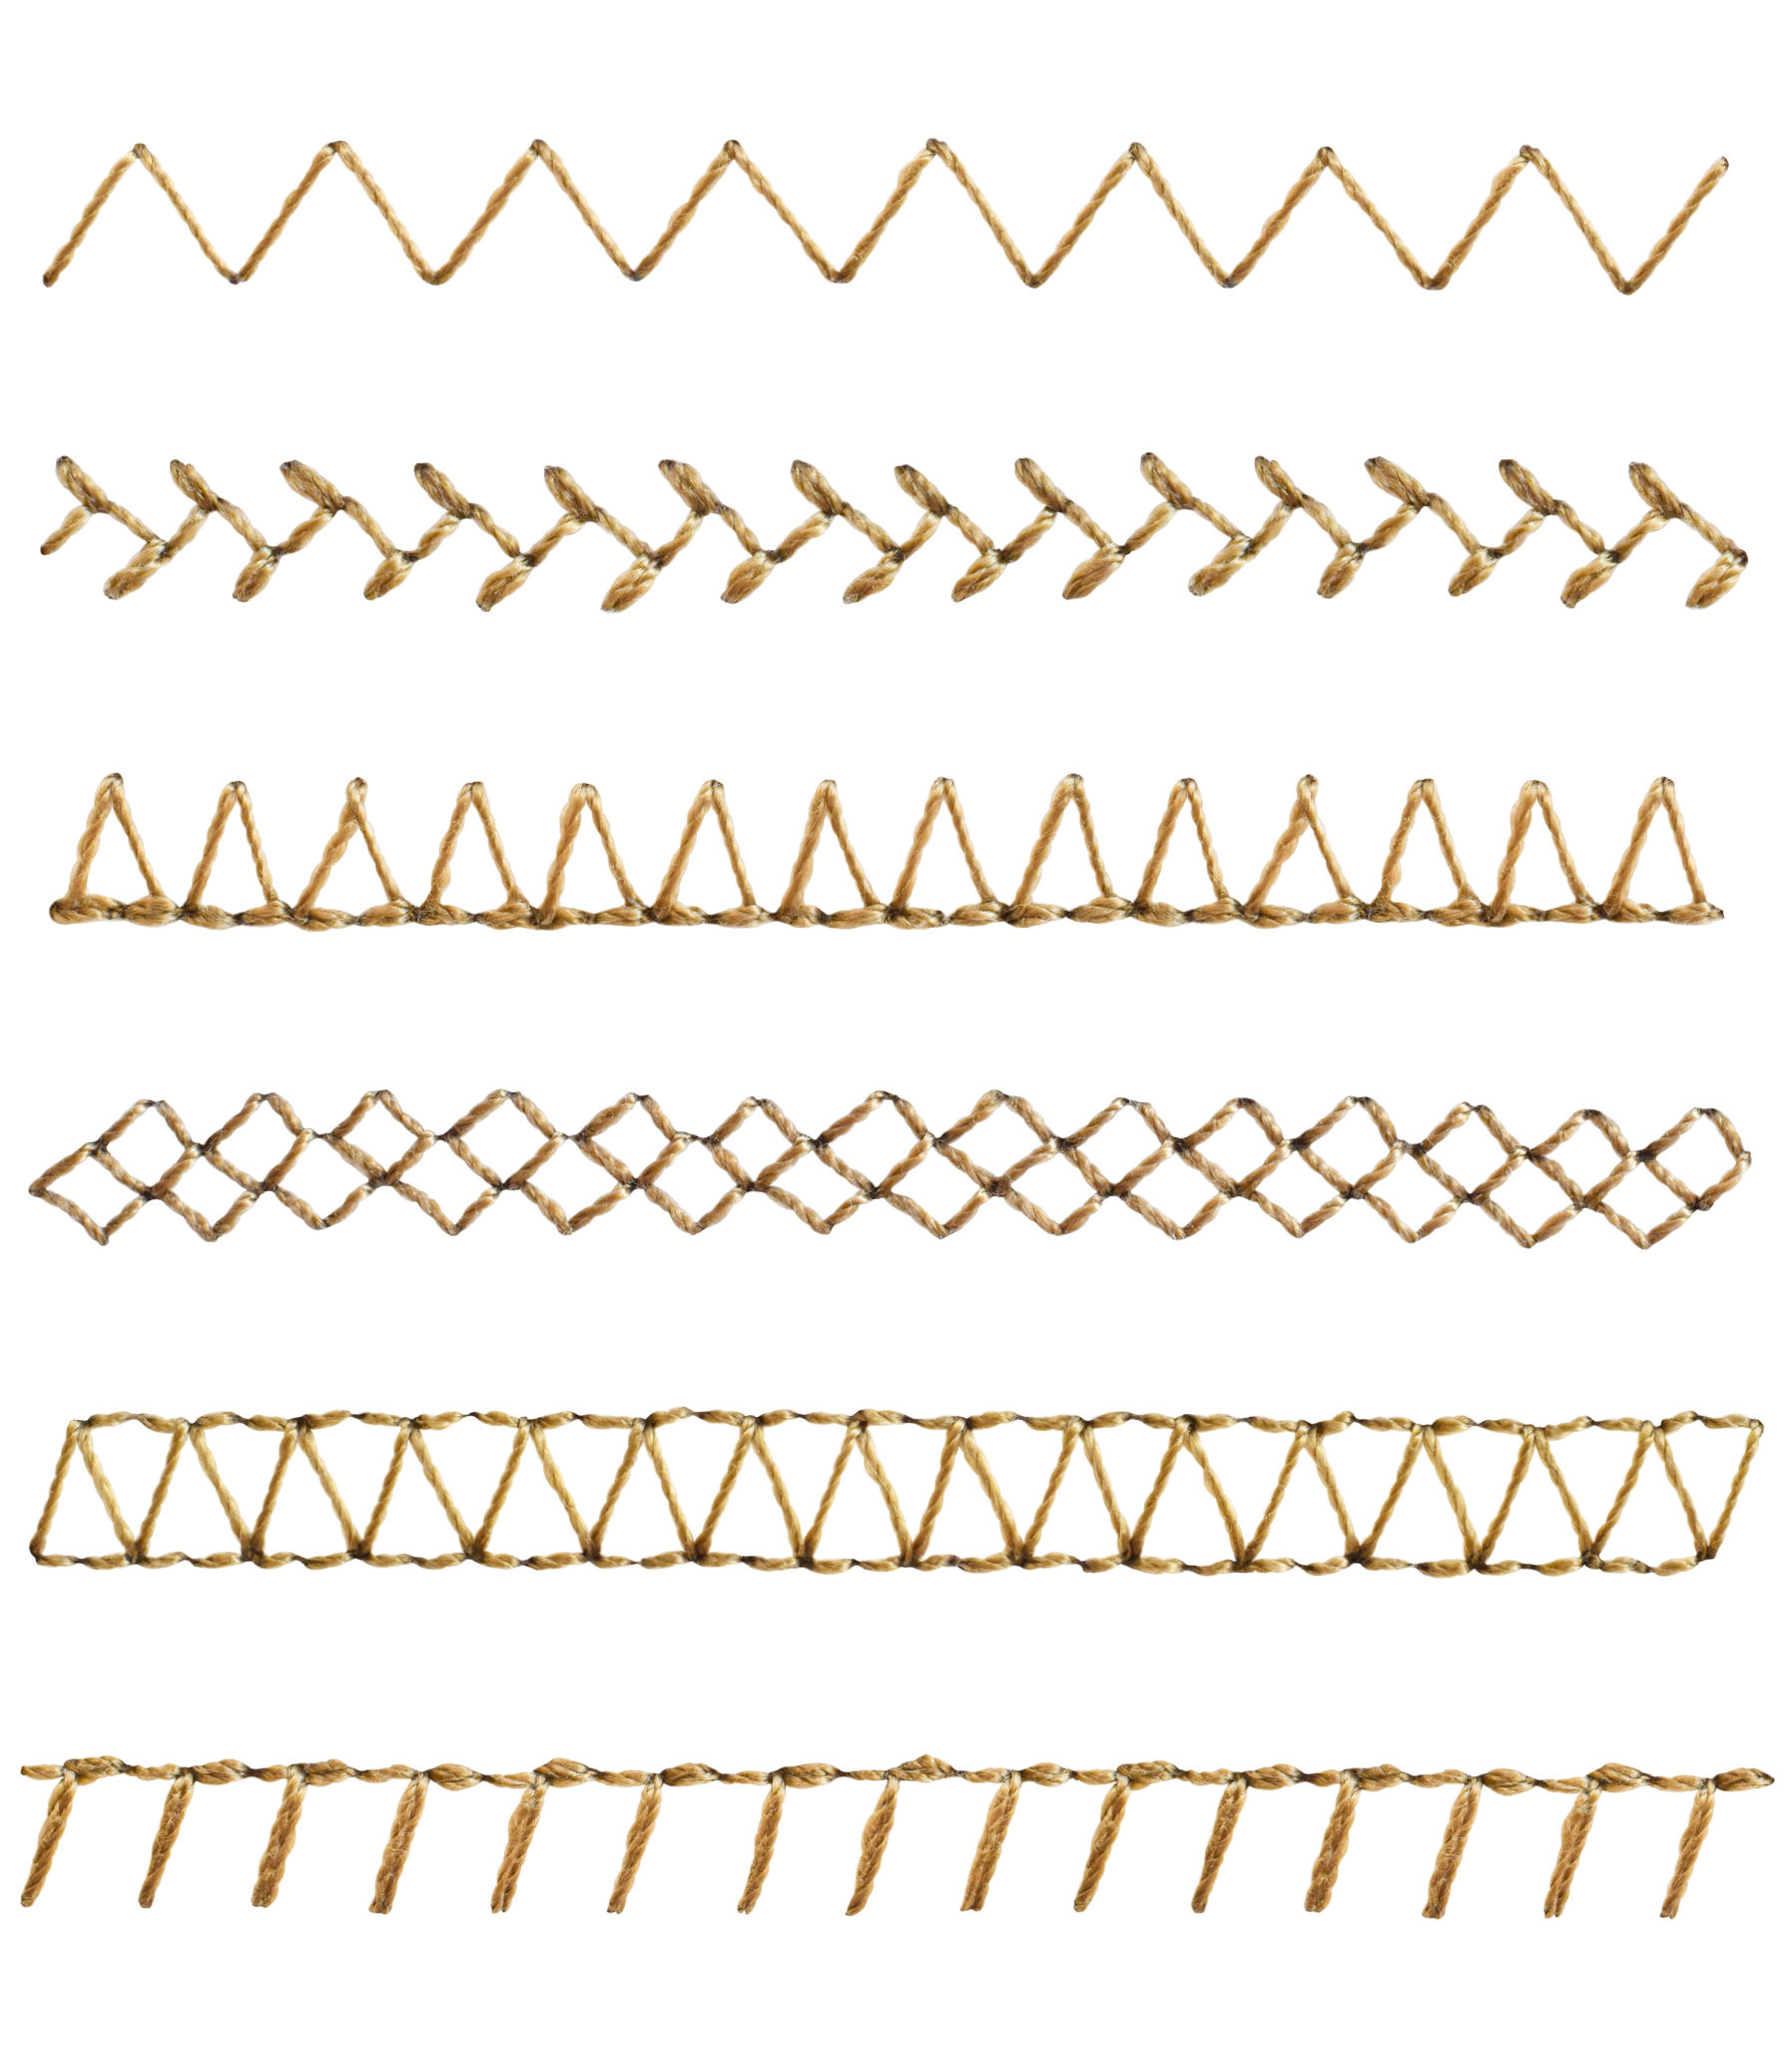
Before you begin stitching your design, it's crucial to master a few basic embroidery stitches. These foundational stitches will form the basis of most designs:
- Backstitch: Great for outlines and lettering, this stitch is simple yet versatile.
- Satin stitch: Perfect for filling in shapes and adding depth to designs.
- French knot: Adds texture and dimension, often used for details like flower centers.
Practice these stitches on a scrap piece of fabric until you feel comfortable with them.
Getting Started with Stitching
Once you're ready to start stitching your design onto your chosen garment, follow these steps:
- Secure the fabric: Place your fabric in the embroidery hoop and tighten it until it's taut.
- Thread the needle: Cut a length of embroidery floss, separate the strands for desired thickness, and thread your needle.
- Begin stitching: Start with one section of your design and use the appropriate stitches to bring it to life.
Troubleshooting Common Issues
As with any craft, you may encounter some common issues while embroidering. Here are solutions to a few typical problems:
- Knotting: To prevent knots in your thread, ensure it's not too long and pull it gently through the fabric.
- Puckering fabric: Keep your hoop tight and avoid pulling the thread too hard while stitching.
- Mismatched tension: Practice maintaining even tension with each stitch for a polished look.
Caring for Your Embroidered Garments
Once you've completed your project, properly caring for your embroidered clothing will ensure it lasts. Always wash embroidered items inside out in cold water and avoid using harsh detergents. Air drying is recommended to prevent damage from heat. With proper care, your custom creations will remain vibrant and unique for years to come.
By following these steps, you'll be well on your way to creating beautiful embroidered pieces that reflect your personal style. Happy stitching!